What is a label and how do I use it in my module content?
A label serves as a spacer on a Moodle course page. It can be used to add text, images, multimedia or code in between other resources in the different sections. It is a very versatile resource and can help to improve the appearance of a course if used thoughtfully. Banners or descriptions may be added to labels to distinguish between and highlight different areas. On the other hand, over-use of multimedia (sound, video) in labels can slow down the loading of a course page.
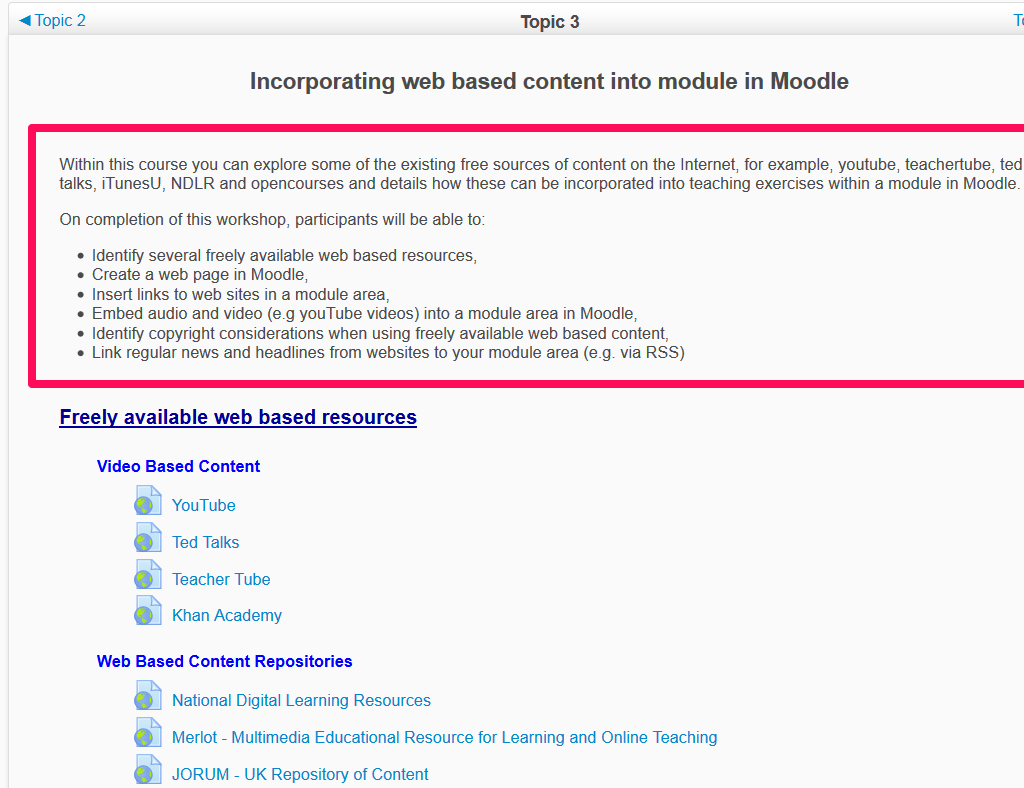
Example of a label
In the following example a label is used to introduce Topic 3 and highlight the learning outcomes of the section.
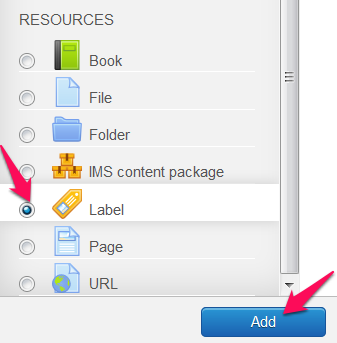
Adding a Label
With the editing turned on, you can add a label to any section of your module choosing the Label option from the “Add an activity or resource” link in the section where you want to add your label.
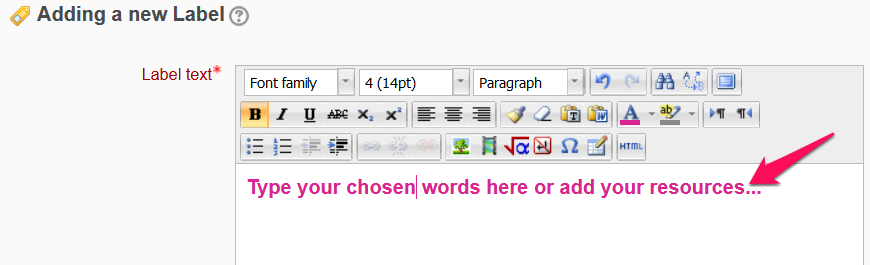
Adding your resource
Because the label has the TinyMCE text editor, it is possible not just to type words but also to add images, links, media or code from within the labels’ editor.
Adding Sound or Video to a Label
In the text editor click Insert Moodle Media.

Choose and upload your sound or video file using the file picker.
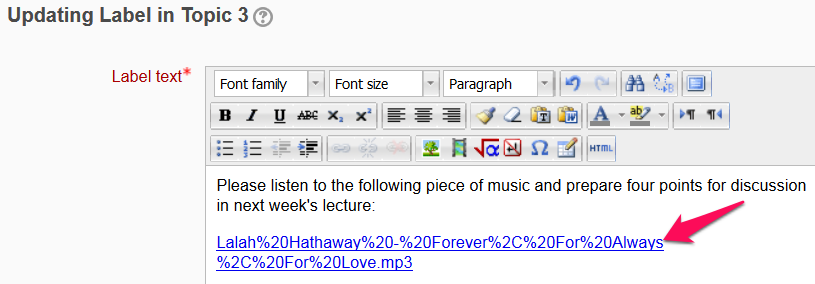
Entering text/instructions as part of the label
You can type in some instructions to accompany the sound or video file also.
Scroll down and click on Save and return to module. This is how the label will appear to students when they next access your module:

Adding code to a label
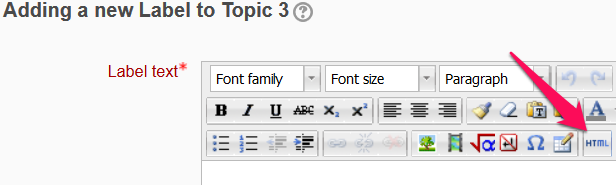
An example of this is the ability to embed a Google map into a label. Click the HTML icon in the text editor to bring up the HTML source editor.
Paste the code you grabbed from Google maps into this screen and click update.

Click Save and return to module.
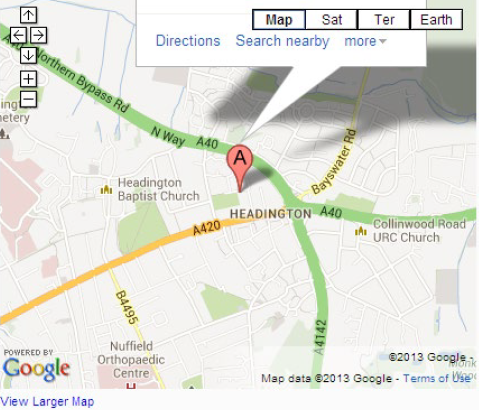
This is how the label will appear to students when they next access your module in Moodle.